
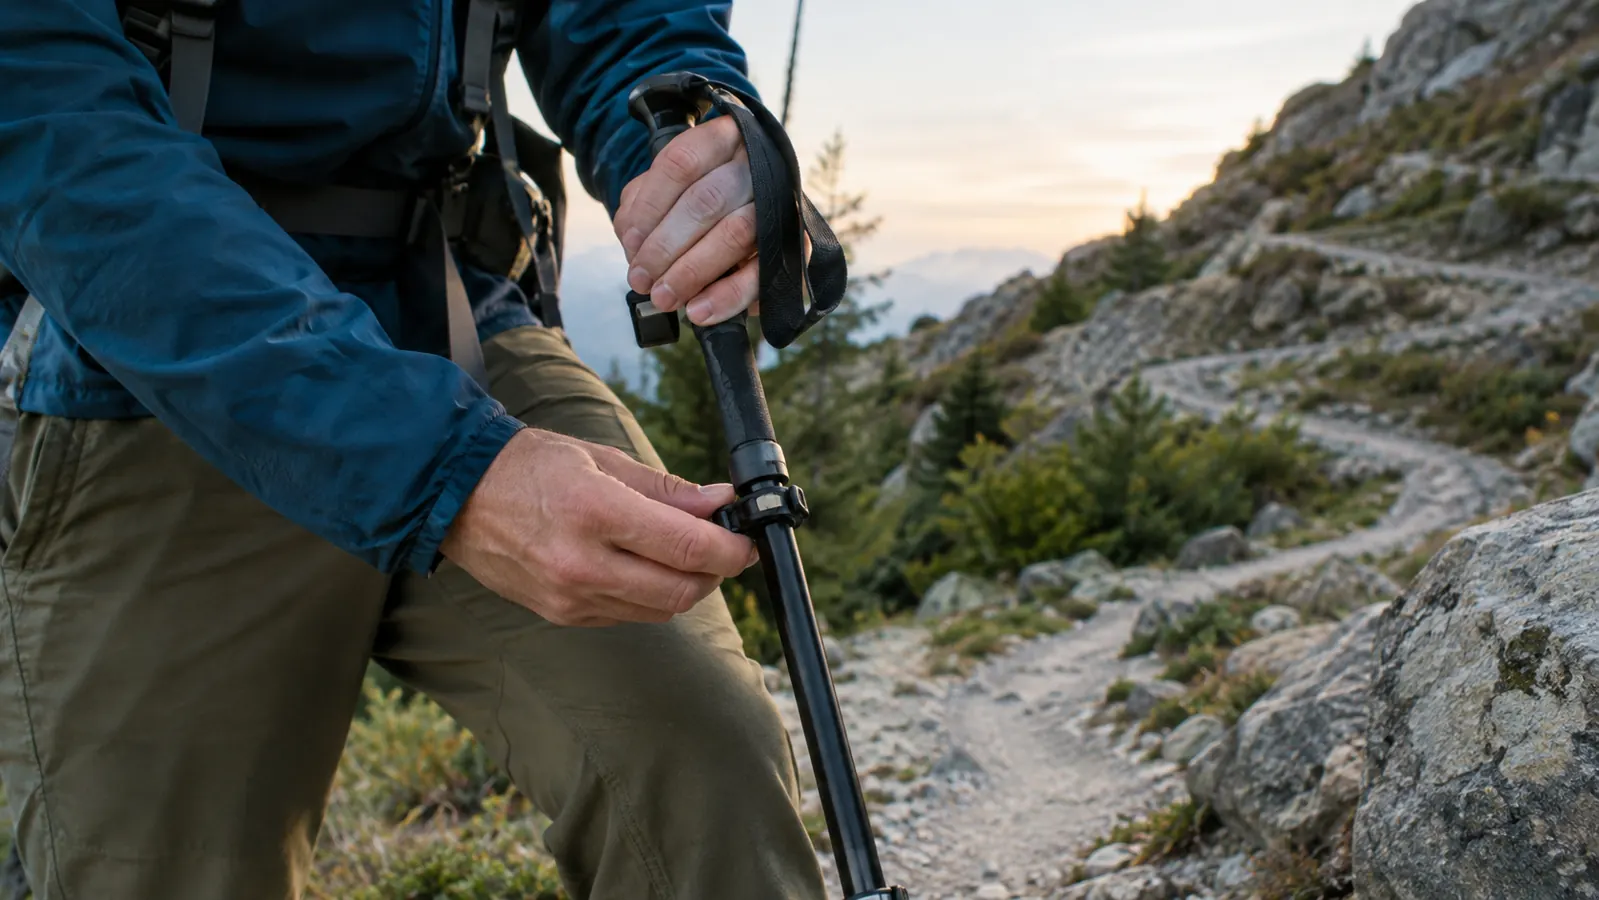
The first time I used trekking poles, I set them to the length that felt comfortable standing flat in the parking lot, then tried to hike the steepest section of the Lost Maples loop. It was a Saturday in late October, the trail was crowded, and I had spent the whole drive telling Ray that the poles would probably just end up strapped to my pack. They did not stay strapped for long. My Cascade Mountain Tech poles were too long going uphill, too short going downhill, and by the time we got back to the car my shoulders ached worse than my knees. Caleb asked if I was okay. Wyatt asked if we could get burgers. I stood there doing the math on how many ibuprofen I had left in the first-aid kit. That was the day I learned that adjusting trekking poles for steep trails is not a set-it-once-and-go thing. It is a five-minute habit that changes how your body feels at the end of the day.
I am Kendra, the mom who packs the snacks, the dog water, and the first-aid kit for every hike. I hike with my two teenage sons and two French bulldogs, mostly in Texas state parks, with one longer mountain trip every year. About a year ago I bought a pair of Cascade Mountain Tech aluminum trekking poles after a steep descent at Lost Maples bothered my knees. Since then I have adjusted them on every kind of trail, from flat beach sand at Padre Island to rocky Colorado switchbacks, and these are the exact steps I use.
Start with poles that actually adjust
Cascade Mountain Tech aluminum trekking poles have the twist locks you need to change length on the trail in seconds. They have carried me through a year of Texas hikes and one Colorado trip, and they still lock up tight.
Amazon Check Today's Price on Amazon →Step 1: Loosen the twist locks, never force them
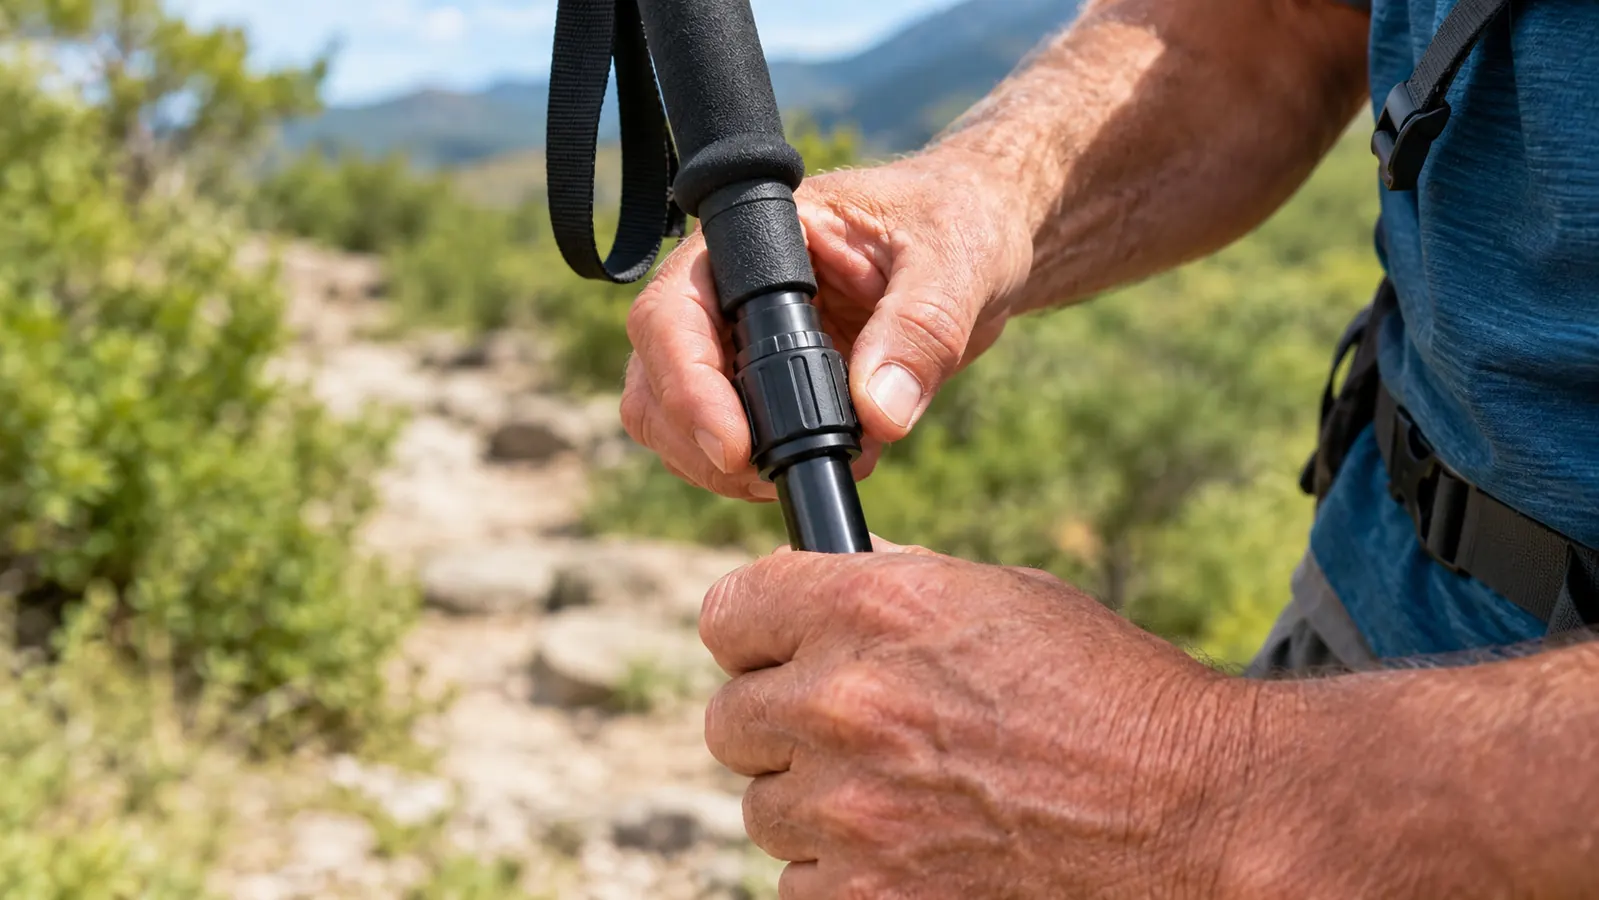
Before you do anything else, find the two locking collars on each pole. On my Cascade Mountain Tech poles, each pole has a collar near the top of the lower shaft and a second collar lower down. To adjust them, turn the collar counterclockwise until the shaft slides freely. It should take very little effort. If you are wrestling with the collar, you are turning it the wrong way or the pole is dirty.
Here is the mistake almost everyone makes the first time: they try to twist the collar while the pole is planted on the ground. That puts all the torque through the shaft and makes the lock feel stuck. Pull the pole up, hold the collar with one hand and the shaft with the other, and twist. It takes about two seconds per pole.
Keep the collars clean. Trail dust and sand work their way into the threads, and a gritty collar is the most common reason a pole suddenly will not adjust. A quick rinse with water and a dry rag at the end of a dusty hike keeps the locks moving smoothly.
Step 2: Set the baseline length for flat ground
Stand on flat ground with your hiking shoes on. Hold the pole by the grip and let your arm hang naturally at your side. The tip of the pole should touch the ground right around the spot where your wrist meets your hand. That is the baseline length for flat miles. On my poles, that puts the lower collar roughly in the middle of the adjustment range, which leaves me room to go shorter uphill and longer downhill.
A quick way to check the fit: grip the handle and bend your elbow to about 90 degrees. If your forearm is close to parallel with the ground, the pole is close to the right length. I do this check with my 4Monster daypack fully loaded, because the pack changes my posture and my shoulders sit a little higher under the straps. A pole that tests perfect with an empty pack can feel short ten minutes into the hike. This baseline is where I start every hike. From there, I adjust for the terrain in front of me.
Do not skip this step just because you plan to be on steep trails all day. The baseline gives me a reference point. If I start too long or too short, every adjustment after that is guesswork. On our first trip to Colorado, I watched a guy at the trailhead set his poles by eye, skip the flat-ground check, and then spend the first mile stopping every few minutes to fiddle with the collars. His wife finally took the poles out of his hands and did the wrist test for him. It took her twenty seconds. He hiked the rest of the day without touching them.
Step 3: Shorten the poles for steep climbs
When the trail tilts up, shorten both poles by about two to four inches from your baseline. The steeper the climb, the shorter the pole. On a really steep pitch, I shorten them until my elbows sit at about 90 degrees when the pole tip is planted ahead of me on the uphill slope. That shorter length lets me push down through the pole instead of reaching up to it.
The rule I use: if my hands are above my elbows when the pole hits the ground, the pole is too long for this climb. Shorten it. It feels strange the first time because the pole looks short when you stand still. Trust the motion. When you are actually stepping uphill, the angle of the slope makes the effective length longer, and the shorter setting is what keeps the pole planted at the right spot.
On long climbs, I adjust once at the bottom of the steep section and leave it. I do not fiddle with the length every fifty feet. Pick the steepest sustained pitch, set the length for that, and hike. If the trail levels out for a while, lengthen back toward baseline; if it climbs again, shorten again. On a Colorado hike last summer, we hit a section that gained about 900 feet in under a mile, and I shortened both poles the full four inches before we started. Wyatt asked why the poles looked so small. Ten minutes later he handed my poles back, because he had set them by feel and they were too long for the pitch. I swapped with him, he shortened his, and we both finished the climb without the constant stopping that had wrecked our rhythm on the first few switchbacks.
Step 4: Lengthen the poles for steep descents
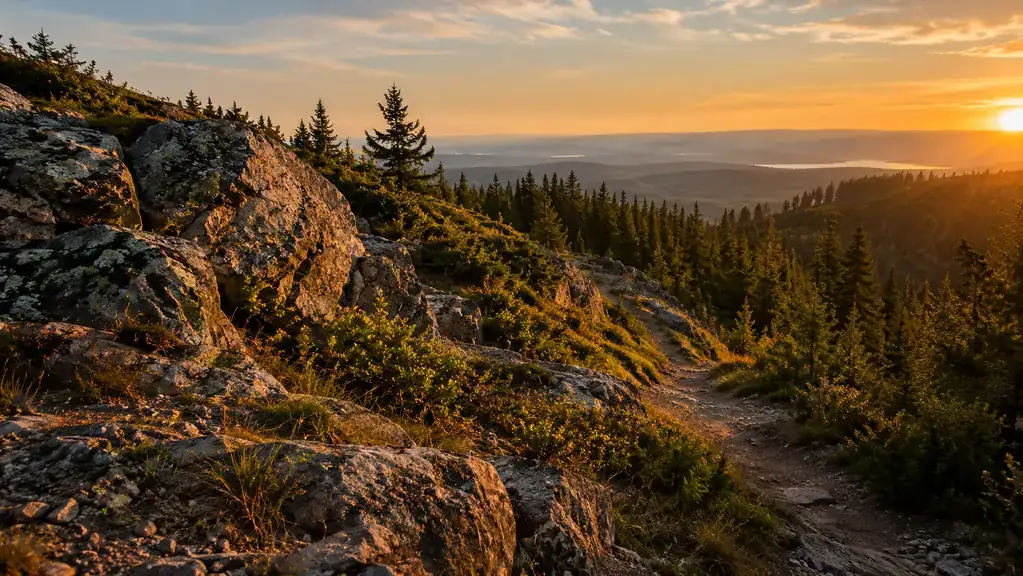
Downhill is where trekking poles earn their keep, and it is also where most people leave their poles at the wrong length. Going down, lengthen both poles about two to four inches past your baseline. The reason is the same as uphill, just mirrored: on a descent, your pole plants downhill in front of you, and a longer pole means you are not bending over to reach the ground.
Here is the test I use on my Cascade Mountain Tech poles: plant the tip on the ground a step ahead of me on the downhill slope. My forearm should be close to parallel with the ground, and my back should be straight. If I am leaning forward with rounded shoulders, the poles are too short. If I am reaching down, they are too long. Lengthen or shorten until the motion feels like a natural extension of my arm.
This is the adjustment that saved my knees at Lost Maples. The descent there is rocky and steep, a little over a mile of switchbacks that drop you down toward the creek, and with the poles at the right length I could take real weight through my arms on every step. I lengthened both poles about three inches past baseline before we started down, checked the locks, and did not touch them again until we hit the flat trail by the water. By the end of the hike, my knees felt the way they used to after a flat walk, not the way they felt after a day of stomping downhill. Ray noticed the difference before I said anything, which is how I knew it was real and not just in my head.
Step 5: Lock the collars and check before you trust them
Once the length is right, tighten each collar by turning it clockwise. Tighten until it is snug, then give the pole a firm push against the ground. If the shaft slides, tighten a little more. A pole that collapses under your weight on a steep downhill is not just annoying, it is dangerous. It happened to me once on a dusty trail near Garner, when a collar I had not wiped down let the upper section slide a couple of inches right as I planted it. I caught myself, but it was a good reminder. Now I check both locks on both poles every time I adjust, and I recheck them after the first few minutes of hiking, when the shafts have had a chance to settle.
The twist locks on my Cascade Mountain Tech poles have held up well over a year of regular use, but they do need a firm hand. If a collar feels loose even when tight, wipe the shaft clean and try again. If it still will not hold, the pole may need a small repair or replacement. Better to find that out at the trailhead than halfway down a switchback.
One more thing: when you shorten a pole, make sure both sections are clean and dry before you lock them. A little grit inside the shaft can wear the locking surface over time. A quick wipe with a rag takes ten seconds and keeps the locks working like new.
What Else Helps
Adjusting the length is the biggest piece, but a few other habits make poles work better on steep trails. First, use the wrist straps correctly. Slide your hand up through the loop from underneath and grip the handle, so the strap wraps across the back of your hand. That way you can relax your grip and let the strap carry some of the load. It took me a full season to stop gripping the handles like I was holding on to a subway pole, and my hands blistered the first few times. Second, plant the pole tip ahead of your foot on climbs and descents, not right beside it. That gives you a stable triangle with your legs. Third, on loose or rocky ground, plant the tip firmly before you commit your weight to it. If the tip skips, you lose your balance. The tip kit that comes with the poles gives you options for different ground, and swapping a tip takes about a minute.
For my family, the poles also help the kids on long days. My younger son Wyatt complains about his feet on every hike, and having poles in his hands gives him something to do with his arms and takes some pressure off his legs. My older son Caleb sprints ahead no matter what, but even he grabs the poles on the steep descents. And when the dogs are done and riding in the pack, the poles help me carry the extra weight without wrecking my back. Biscuit and Pepper are French bulldogs, so they do about two miles before they start looking for a ride. On the way back to the car, I am the one carrying Pepper in the front of the 4Monster pack, and the poles take enough weight off my knees that I can do it without stopping every hundred yards.
Shorten for the climb, lengthen for the descent, and check the locks before you trust them. That is the whole habit, and it takes about thirty seconds per adjustment.
Adjust once on the trail, enjoy the whole hike
A pair of Cascade Mountain Tech aluminum trekking poles gives you reliable twist locks, a comfortable grip, and a tip kit that handles everything from dirt to rock. If you have been hiking without poles, this is the upgrade your knees will thank you for.
Amazon Check Today's Price on Amazon →