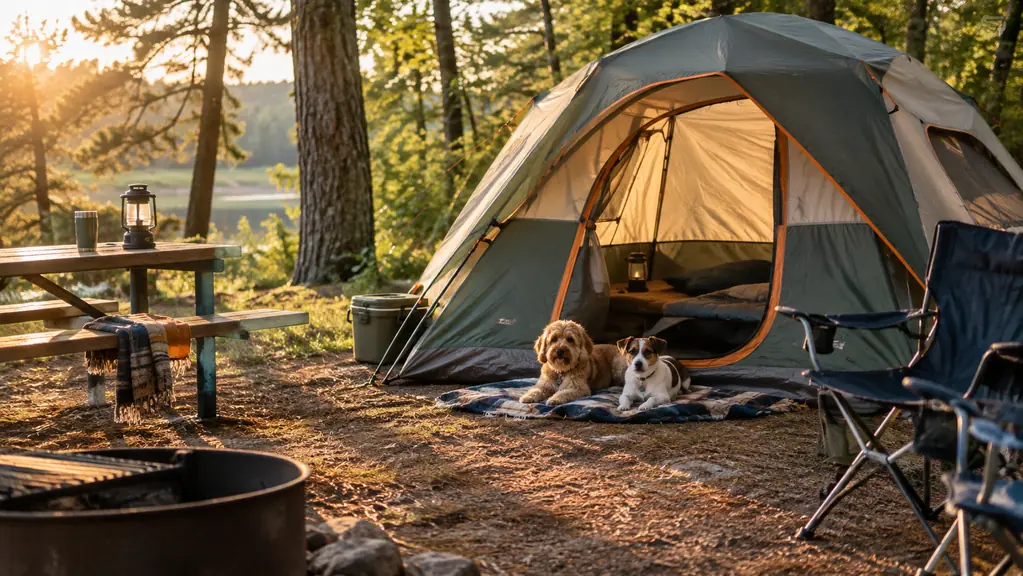
The first time I set up our Coleman Sundome 4-person tent, I did it wrong. We were at Lost Maples State Natural Area, the boys were hungry, Biscuit was circling the picnic table, and I spent twenty minutes fighting the poles before I realized the rainfly goes over the frame, not under it. The tent survived. My pride did not.
Since then, Ray and I have camped maybe a dozen weekends at Texas state parks, and I have a system that works. This is the step-by-step I wish someone had handed me that first afternoon: how to set up a family tent at a state park campsite, from the minute you pull into the site to the moment you zip the door closed. It works with the Coleman Sundome, and it works with most pole tents of similar size.
I am not a camping expert. I am a mom who packs the snacks, the first-aid kit, and the dog water for everyone. But I have set this tent up enough times that the steps are automatic now, and I want to share the order that works for us.
Set up camp in 10 minutes, not 40
The Coleman Sundome 4-person tent is the one I reach for every state park trip. It is simple, it is roomy enough for our family of four plus two French bulldogs, and it sets up fast once you know the order. Check today's price on Amazon and see if it fits your campsite.
Amazon Check Today's Price on Amazon →Why the Coleman Sundome Works for Our Family
Before I get into the steps, it helps to know why this tent earns its spot in the back of our SUV. The Sundome is a classic dome tent, which means the poles cross over the top and the shape does most of the work. There is no center pole to trip over, no complicated hub, and no assembly that requires three adults and a diagram. For a family that camps maybe once a month, that simplicity is the whole point.
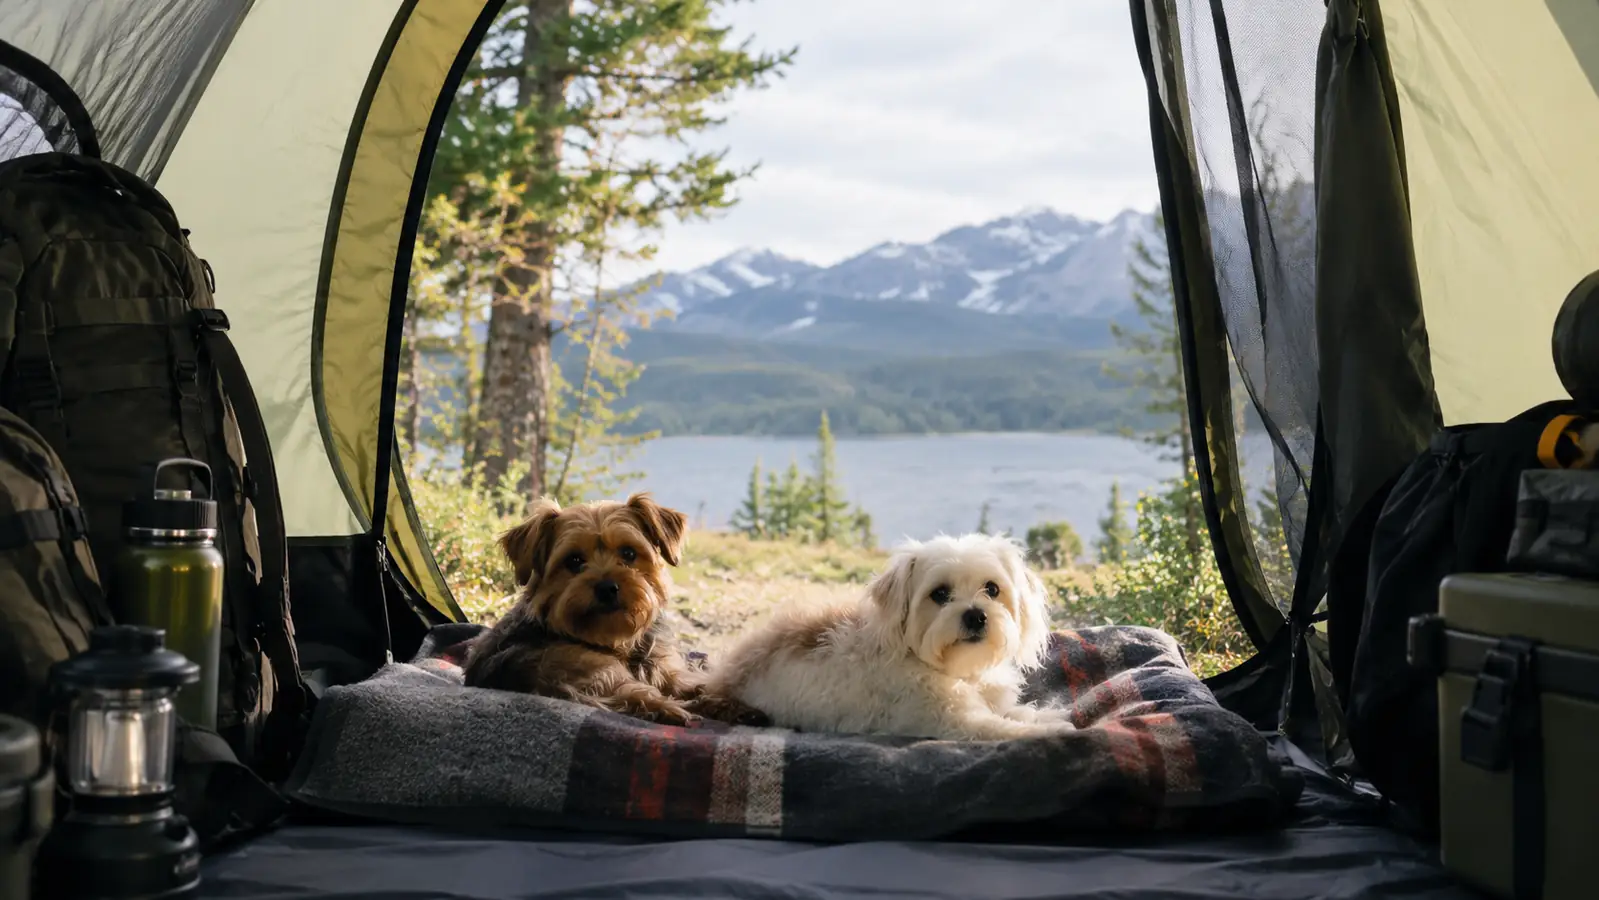
It is also a 4-person tent used by four people, which is honest sizing. Caleb and Wyatt each get a sleeping pad, Ray and I share the middle, and Biscuit and Pepper curl up on a folded blanket near the door. It is snug, but it is not cramped, and on rainy afternoons we can all sit inside and play cards without feeling like we are in a sardine can.
Before You Leave the House
Most tent problems start at home, not at the campsite. The week before a trip, I set the tent up in the backyard and check for three things: missing poles, broken zippers, and the rainfly. I also spray the seams with a seam sealer if they look dry, because a tent that has been folded in a garage for six months can develop tiny gaps that only show up when it rains.
I pack the tent in its bag with the poles and stakes together, and I put the bag in the SUV the night before. That sounds obvious, but I have definitely stood in the driveway at 7 a.m. with the cooler loaded and no tent in sight. The other thing I pack is a small repair kit: a rubber mallet, a few extra stakes, a length of paracord, and duct tape wrapped around a pencil. I have used every single item at least once.
What to Do When You Arrive
When you first pull into the site, do not pop the trunk yet. Walk the site, check the pad, and decide where the tent goes. Then park the SUV so the back opens toward the tent. That saves a lot of carrying, especially if you are hauling a 4-person tent, two sleeping pads, and a bag of dog gear.
If the site has a picnic table, claim it early. We put the stove on one end and the food bin under the bench, and we keep the table as the gathering spot. The tent is for sleeping, the table is for living, and keeping those separate makes the whole campsite feel bigger.
How to Set Up the Tent at the Campsite
Step 1: Pick the Right Spot and Clear It
Before you unload anything, walk the whole site. State park pads are usually marked, but marked does not mean level. Look for a spot where the tent will sit flat, with no roots, rocks, or old pine cones under the floor. A small slope feels fine when you stand on it and miserable at 2 a.m. when you roll downhill into whoever is sleeping next to you.
I also look at what is overhead. A branch that looks sturdy can drop limbs in a storm, so I keep the tent out from under the big oaks and instead aim for a spot with some afternoon shade. In Texas, that shade is the difference between a nap at 3 p.m. and everyone hiding in the car with the AC on.
Finally, think about the walk to the bathroom and the fire ring. You want the tent close enough to the fire that you are not crossing the whole campground in the dark, but far enough that sparks and smoke are not landing on the tent. And if you camp with dogs, leave a path clear of chairs and coolers so you can get them out fast in the middle of the night.
Step 2: Lay Out the Tent Body and Orient the Door
Once the spot is clear, spread the tent body flat on the ground with the door facing where you want it. I like the door facing the picnic table or the fire ring, because that is where the coffee and the marshmallows live. It also means the door is not facing directly into the wind, which keeps rain from blowing in every time you unzip it.
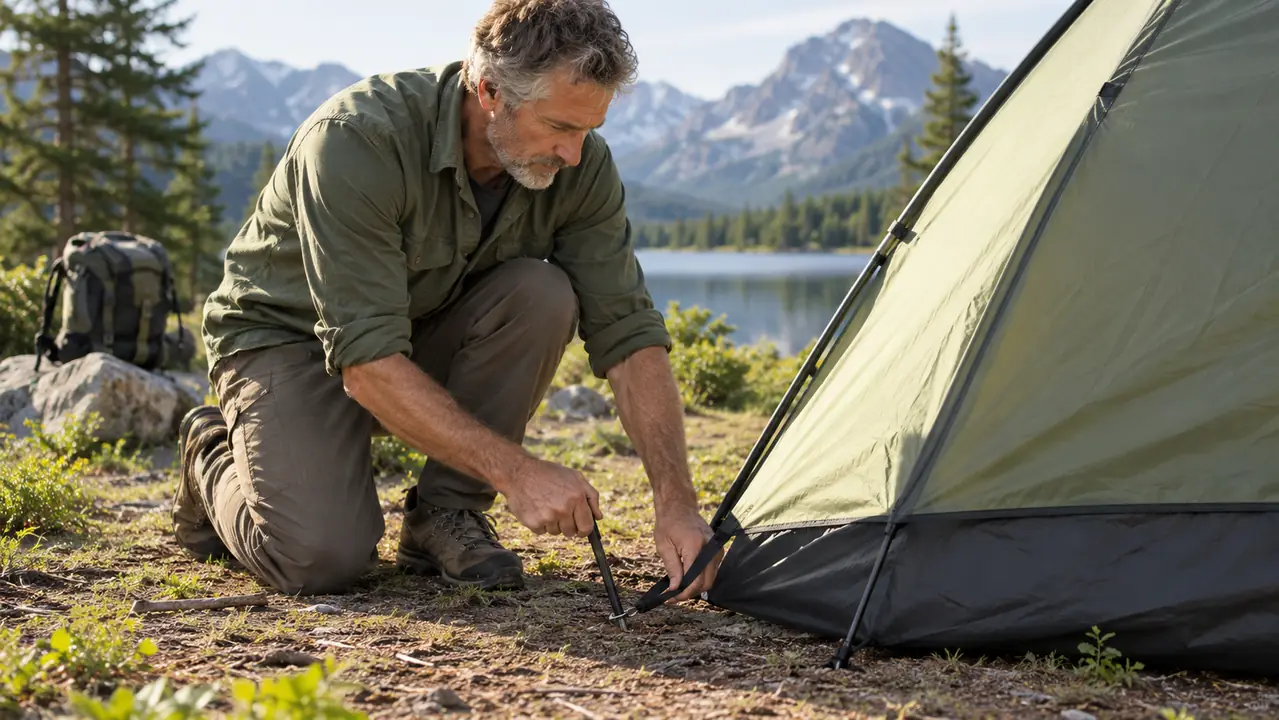
Find the corners and stake them down loosely before you add poles. I use the stakes that came with the tent, and I push them through the loops at a slight angle, pointing away from the tent. That angle gives the stake a lot more holding power than straight down, especially in the sandy soil at Padre Island.
If you use a footprint or a ground cloth, lay it down first and make sure it is tucked under the tent body, not sticking out past the edges. A ground cloth that sticks out catches rain and funnels it under the tent, which is the opposite of what you want.
Step 3: Connect the Poles and Raise the Frame
The Coleman Sundome uses two poles that cross in an X over the top. I lay each pole along its matching sleeve, thread it through, and then cross them at the top. The poles are usually easy to match to the sleeves, which saves a lot of head scratching. If yours are not, just match the pole to the sleeve that fits.
Once both poles are in their sleeves, push one end of each pole into the pin or grommet at the corner, then gently bend the pole and seat the other end. This is the step where I used to fight the tent. The fix is to work slowly and seat both ends of one pole before you start the second one. If you try to bend both poles at once, you end up with a tangle and a very patient husband standing there holding a stake.
After the frame is up, the tent body will look loose and saggy. That is normal. The dome shape comes from the poles, but the taut look comes from the next step, so do not panic and do not start rearranging poles.
Step 4: Stake It Down and Adjust the Tension
Now is the time to make the tent actually tight. Go around the base and pull each corner out gently, then stake it down firmly. I pull the fabric until the wrinkles mostly disappear, but I do not yank it so hard that the seams strain. A taut tent sheds rain and resists wind; a loose one flaps and pools water.
Most state park sites have fairly soft ground, so the stakes that come with the tent work fine. If you are camping somewhere rocky, bring a small mallet and a few heavier stakes. I keep a rubber mallet in the SUV because it makes the whole job faster and saves my hands.
Check the guylines too. The Sundome has a few loops where you can attach lines, and I use them when the weather looks at all questionable. I stake the lines out at a 45-degree angle from the tent, which gives the whole structure a lot more stability in wind.
Step 5: Put On the Rainfly and Set Up the Inside
The rainfly is the last piece, and it is the piece I got wrong that first time. It goes over the top of the tent, with the buckles or clips attached to the frame, and it should be pulled snug. If the fly is loose, it will flap all night and let rain collect in the valleys. If it is too tight, it can pull the tent body out of shape.
Once the fly is on, I unzip the door and set up the inside. In our family, that means a sleeping pad for each of the boys, one wider pad for Ray and me in the middle, a pile of sleeping bags, a small bag with headlamps and earplugs, and a folded blanket in the corner for Biscuit and Pepper. The dogs sleep in the tent with us, so I leave a clear path from the door to their blanket and keep their water bowl just outside the door.
Before I call it done, I do one final walk around. I check that every stake is seated, every zipper closes, and the rainfly is covering the mesh windows. Then I put the food in the car, hang the lantern, and pour the coffee. The tent is set up, and it took us about ten minutes from the time we parked.
What Else Helps
A few things make the whole setup easier. I keep a small kit in the SUV with a rubber mallet, a handful of extra stakes, a headlamp, and a roll of duct tape. I also practice setting up the tent in the backyard once a year, usually in the spring, so the steps are fresh before the first trip. It sounds silly, but doing it once at home means the first campsite setup is not the first time you have touched the poles in eight months.
One more thing: teach the kids to help. Caleb can thread the poles through the sleeves now, and Wyatt is in charge of the stakes. It takes longer the first few times, but it means we are all working together instead of one person doing everything while everyone else stands around. That is the difference between a chore and a family memory.
If you are new to tent camping, do a dry run in the backyard before your first trip. It takes twenty minutes and it saves you from doing it in the dark at a campsite. We did this before our first trip with the Sundome and it made the whole weekend smoother.
Once we switched to the Coleman Sundome, setup went from twenty awkward minutes to about eight, and that is the difference between camping and just arguing in the woods.
Bring the tent that makes setup easy
The Coleman Sundome 4-person tent is the one I keep recommending to other parents. It is simple, it is sturdy, and it fits our whole crew. Check today's price on Amazon and grab it before your next state park trip.
Amazon Check Today's Price on Amazon →